How to set up and use two-factor authentication (2FA/TFA)
Two-factor authentication (2FA) helps protect your ServasOnline account by requiring a security code as well as your password.
From 9 November 2026, all ServasOnline members will need to use 2FA.
Good news: On your own computer, tablet or phone, you can choose to remember your browser for 30 days, so you won't need a new code every time you log in.
Quick Links
- Part 1 Setting up 2FA
- Part 2 Logging in with 2FA
- Part 3 Member Settings
- Part 4 Member Admin Supporting 2FA
Part 1. Setting up 2FA (one time only)
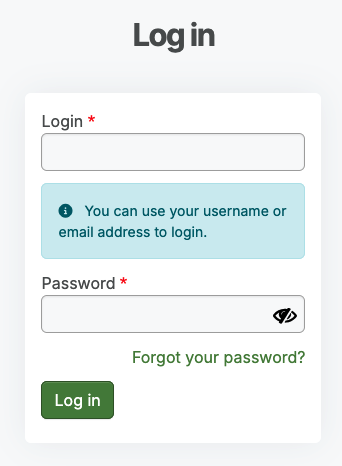
Step 1 – Log in to ServasOnline
Log in as usual with your username or email address and password.
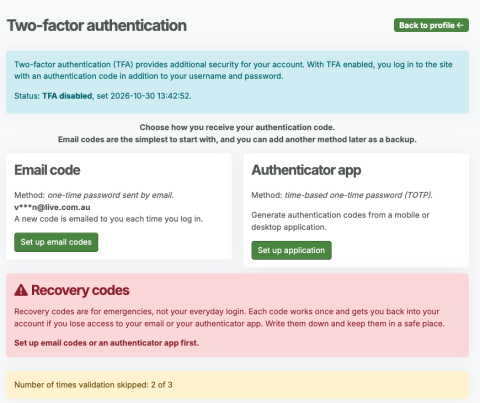
Step 2 – Choose authentication method, Email or Authenticator App
You will be asked select your preferred method of second factor authentication. If choosing Email code, note the email address the system is using for you.
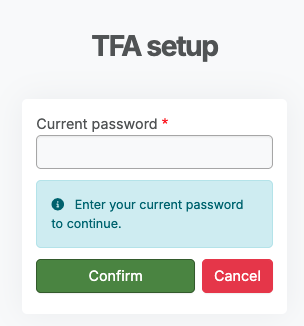
Step 3 – Confirm your password
Enter your usual ServasOnline password and select Continue.
Step 4 – Finish your authentication selection
You will be asked to complete your authentication selection based on your choice:
Step 4-A. For Email
- Select "Enable two-factor authentication via email" and "Save"
- Look in your email for the "Authentication email" and get the "Authentication code"
- Enter the code into the "Authentication code"
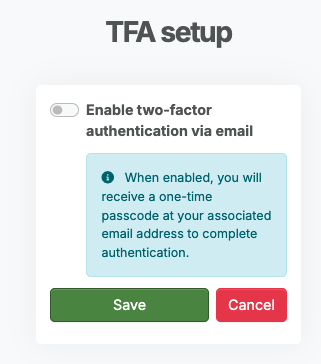
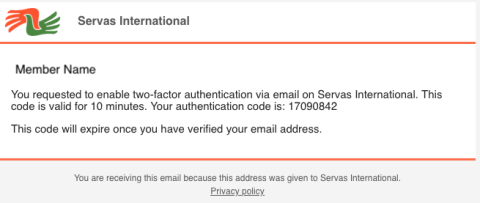
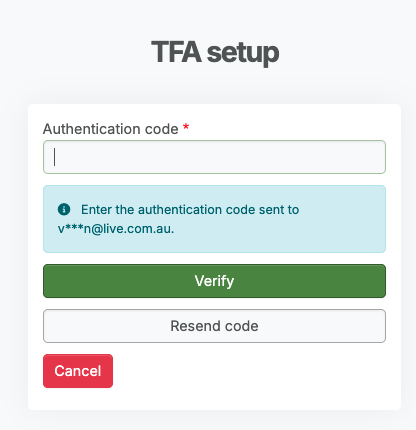
Step 4-B. For Authenticator App - use your preferred App on your mobile phone and complete the setup with code supplied or QR code and then enter the "Authentication code".
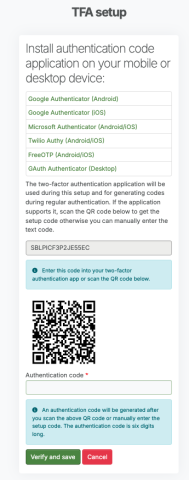
Step 5 – Setup complete!
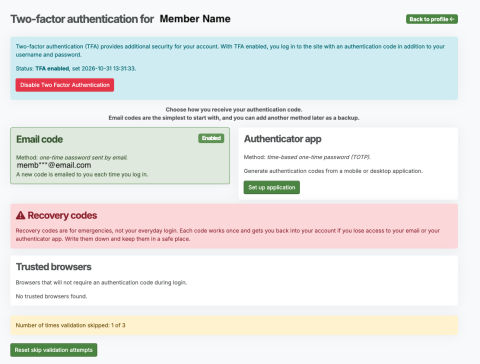
You are now signed in with TFA and the TFA Settings screen can be reviewed before going back to your edit 'Profile' screen or Dashboard. You can return to the 2FA Settings screen using the Blue 'Manage two-factor authentication' button on your profile screen or from your main 'Avatar' drop down menu (top-right of screen) > 'Two-Factor Authentication'
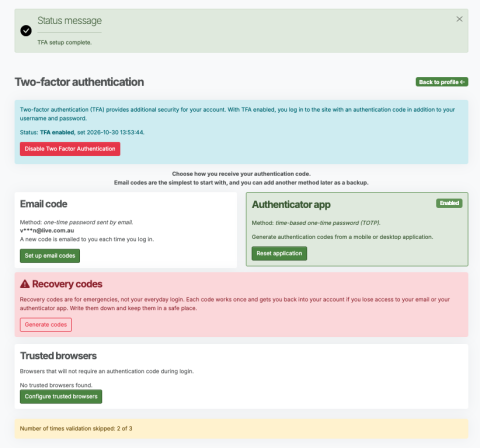
You normally only need to complete TFA setup once.
Part 2. Logging in with 2FA
Part 2-A. Email Authentication
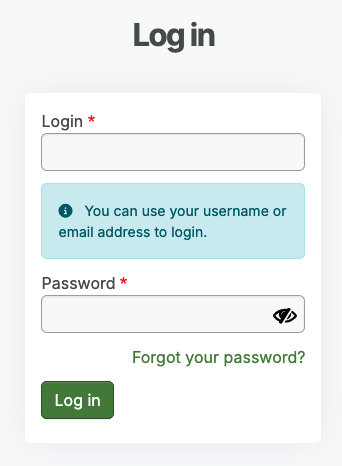
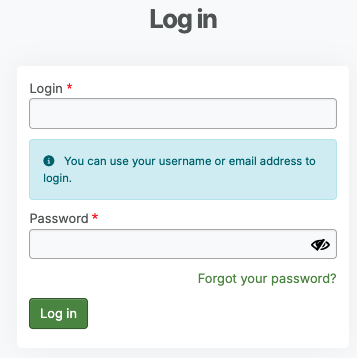
Step 1 – Log in as usual
Enter your username or email address and password.
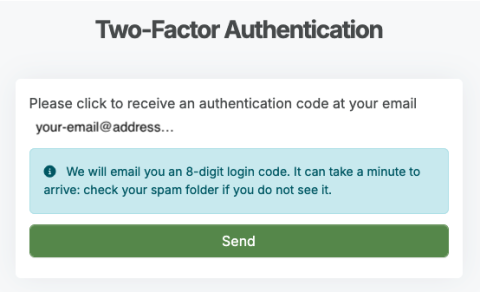
Step 2 – Authenticate with Email Request your security code
Select Send to receive a security code by email.
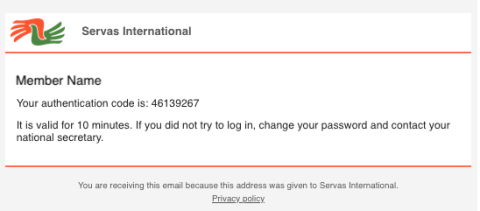
Step 3 – Check your email
Open your email and look for a message from Servas International containing your 8-digit login code.
The code is valid for 10 minutes. If you don't see the email, check your spam or junk folder.
Step 4 – Enter your code
- Return to ServasOnline and enter the 8-digit code.
- On your own computer, tablet or phone, leave Remember this browser for 30 days? selected.
- Then select Verify.
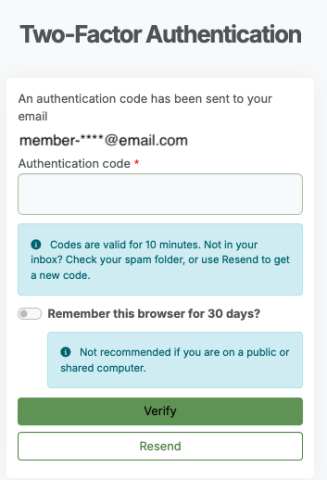
That's it! You're logged in.
Select the 30-day option - So, for the next 30 days, you can normally log in from the same browser without needing another email or authenticator code. Important: Only select the 30-day option on your own device, not on a public or shared computer.
Part 2-B. App Authentication
Part 3. Member Settings - Email or Authenticator App
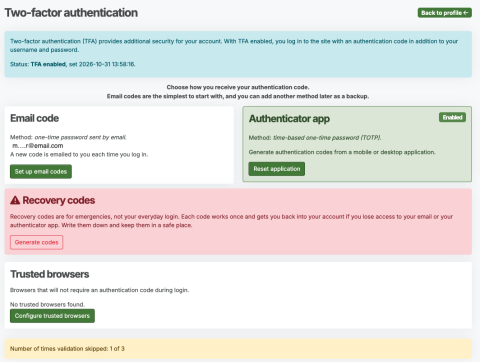
TFA Settings are in accessible from the Avatar (drop down) menu or tin the Members 'Edit Profile' screen and by using he blue blue 'Manage two-factor authentication'
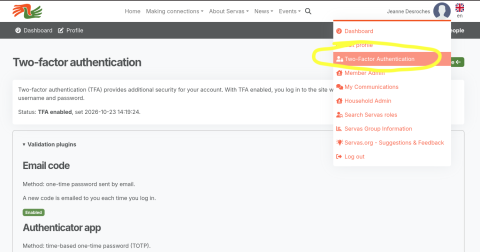
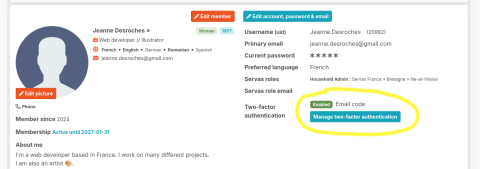
In this space members can:
* Reset their Authentication tool e.g. 'Reset application
* Add add an alternative Authentication e.g. Set up email codes
* or remove the 30 day web browser access 'Configure trusted browsers'
If you have difficulties, please contact your National Servas Administrator for assistance.
Part 4. Member Admins can Support Members TFA
Member Admins have access to Members 'Edit Profile' screen and can use the blue 'Manage two-factor authentication' button to see a Member Admin version of the screen.
Besides the helping users with the functions listed above, Member Admins can 'Reset skip validation attempts'. This is essential for Members that have locked themselves out after 3 logins and have not turned on their TFA. If needed, Member Admins can completely remove and reset a members 2FA, so next time the login the member will need to setup their TFA i.e. the red 'Disable Two Factor Authentication'.